Garden trellises are a must-have for any garden enthusiast looking to elevate their outdoor space. These versatile structures not only provide support for climbing plants but also add a decorative element that enhances the overall aesthetic of your garden. Whether you have limited garden space or simply want to create a private sanctuary, garden trellises offer endless possibilities. Here, we will explore some creative ideas for using garden trellises to transform your garden.
Whether you have a green thumb or are just starting out as a gardener, incorporating garden trellises into your outdoor decor can have a significant impact on the overall ambience of your space. From salvaged windows to rustic branches and twine, there is a garden trellis design to suit every taste and style. The right trellis can provide structure, privacy, and a stunning backdrop to showcase your climbing plants.
Key Takeaways:
- Garden trellises offer support for climbing plants and add a decorative element to your outdoor space.
- They are versatile and can be used to create private sanctuaries or enhance the visual appeal of your garden.
- Creative ideas for garden trellises include repurposing salvaged windows, using branches and twine, or leaning a vintage fence piece against your house.
- DIY pergolas, T-post trellises, honeycomb trellises, and plastic netting trellises are other options to consider.
- Garden trellises can be used to showcase flowering vines and improve curb appeal at the entrance of your home.
Salvaged Window Trellis
Looking for a unique and creative way to add a trellis to your garden? Consider repurposing a salvaged window! This upcycling project not only gives new life to old windows but also provides an ideal structure for supporting climbing vines, such as star jasmine.
Start by removing the glass panes from the salvaged window. This will create an open framework that allows the vines to weave and wind their way through. Once the window is glass-free, you have a few options for installation.
If you have a blank wall in your garden, hang the salvaged window trellis using sturdy hooks or brackets. This will create a stunning vertical element that adds visual interest and texture to the space. Alternatively, if you have a potting shed or workspace, simply rest the salvaged window trellis on a worktable. This creates a rustic, freestanding trellis that can be easily moved and rearranged as needed.
When choosing climbing vine varieties for your salvaged window trellis, consider star jasmine. Star jasmine, also known as Trachelospermum jasminoides, produces clusters of small, white, intensely fragrant flowers that add beauty and a heavenly scent to your garden. Its vining habit makes it the perfect choice to intertwine and cover the salvaged window trellis.
Benefits of using a salvaged window trellis:
- Unique and eco-friendly, repurposing an old window adds character to your garden.
- Provides a framework for climbing vines to grow, creating a lush and vibrant display.
- Offers a vertical element that adds height and visual interest to your garden design.
- Can be easily installed on a wall or used as a freestanding structure depending on your garden’s needs.
Transform your salvaged window into a beautiful trellis and watch as climbing vines like star jasmine breathe new life into your garden. This creative project combines functionality and sustainability, resulting in a stunning focal point that will impress both you and your visitors.
Branches and Twine Trellis
Looking for a rustic and charming trellis option? Consider creating a trellis using branches and twine. This simple and natural design adds a touch of rustic beauty to your garden space while providing support and structure for your climbing plants.
To create this trellis, start by foraging large sticks or branches from your garden. Look for sturdy branches from poplar or birch trees, as they are ideal for this type of trellis. Once you have gathered your branches, remove any leaves or twigs.
Next, align the branches in a vertical position, ensuring they are of equal height. Bring the tops of the branches together, forming a point at the top, and secure them by lashing them tightly with garden twine. The twine should be wrapped around the top of the branches, creating a secure and stable structure.
Once your trellis is assembled, place it in your desired location within your garden. It can be positioned against a wall, fence, or even as a freestanding structure. The branches and twine create a visually appealing and natural backdrop for your climbing plants, such as sweet peas or morning glories.
Benefits of a Branches and Twine Trellis:
- Provides support for climbing plants.
- Enhances the natural and rustic aesthetic of your garden.
- Allows for easy customization and size adjustment.
- Can be made using readily available materials from your garden.
- Offers a budget-friendly trellis option.
“The branches and twine trellis adds a lovely rustic touch to my garden. It’s not only functional but also a beautiful focal point.” – Emma, avid gardener
Whether you’re a fan of rustic and natural elements or simply looking for a budget-friendly trellis option, the branches and twine trellis is a great choice. Its simplicity and charm make it a popular choice among gardeners looking to showcase their climbing plants in a unique way.
Next, we’ll explore another creative trellis idea: the vintage fence trellis.
Vintage Fence Trellis
Looking for a quick and easy trellis solution? Lean a vintage fence piece against your house and create a charming backdrop for your climbing plants. Not only will it add height and structure to your garden, but it will also bring a touch of vintage elegance to your outdoor space.
If you’re in search of unique finds, flea markets are a treasure trove of vintage fences that can add character to your garden. Browse through the stalls and discover the perfect piece that speaks to your style. From wrought iron to weathered wood, there is a vintage fence to complement any garden aesthetic.
Whether you have roses, clematis, or other climbing plants, a vintage fence trellis provides excellent support. The open design allows the plants to weave through the fence, creating a beautiful display of foliage and blooms.
With its timeless appeal and versatility, a vintage fence trellis is a wonderful addition to any garden. It effortlessly combines functionality and aesthetic appeal, making it a perfect choice for plant enthusiasts and vintage lovers alike.
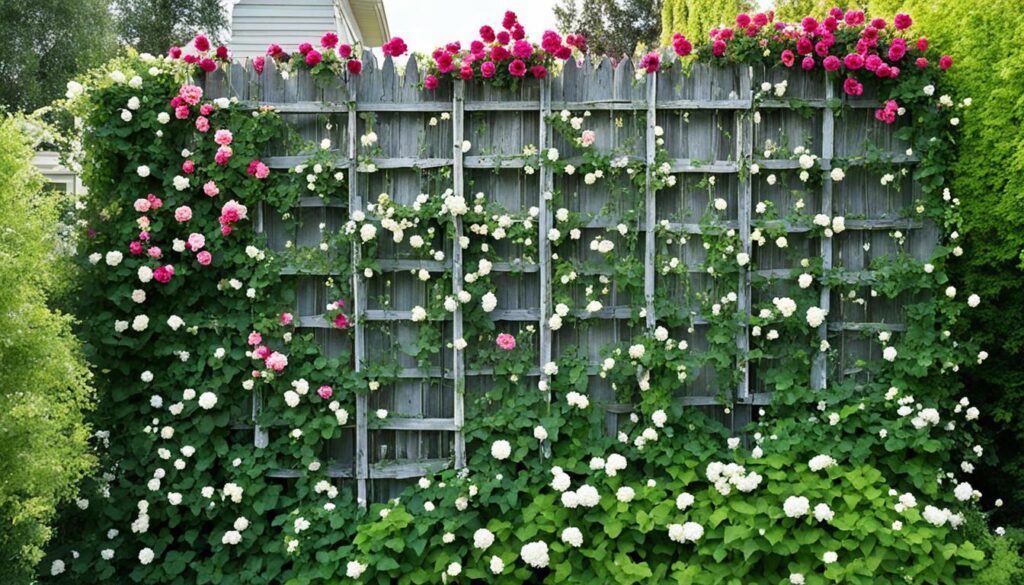
Benefits of a Vintage Fence Trellis:
- Adds height and structure to your garden
- Provides excellent support for climbing plants
- Brings a touch of vintage elegance to your outdoor space
- Allows plants to weave through, creating a beautiful display
Embrace the charm of a vintage fence trellis and turn your garden into a nostalgic haven for your climbing plants. Visit flea markets, find the perfect piece, and watch as your garden transforms into a whimsical retreat.
DIY Pergola
Build a DIY pergola as a trellis to provide shade in your garden while also creating a stunning display for vines like clematis. Pergolas are versatile structures that enhance the aesthetics of your outdoor space and offer a functional solution for growing climbing plants.
Before embarking on your DIY pergola project, it’s important to take a few key steps to ensure a successful outcome. First, call your local utilities to mark the location of underground lines. It’s crucial to avoid damaging any utility lines during the construction process.
Next, carefully plan and prepare the area where you intend to build the pergola. Clear the site of any debris or obstacles and ensure that it is level. Properly measure and mark the desired dimensions of your pergola to ensure accuracy during construction.
One of the essential elements of building a sturdy pergola is sinking the posts securely into the ground. Sink the posts at least one-quarter of their heights to achieve stability and prevent wobbling or leaning. Use concrete footings or post anchors to further enhance the structural integrity of the pergola.
Materials and Tools
- Pressure-treated lumber
- Galvanized screws or nails
- Concrete mix (if using concrete footings)
- Post anchors (if using post anchors)
- Drill
- Saw
- Measuring tape
- Level
- Hammer
Once you have gathered the necessary materials and tools, you can begin constructing your pergola. Start by building the frame, attaching the cross beams and support beams according to your desired design.
After constructing the pergola frame, you can add additional elements such as shade cloth, lattice panels, or even a retractable canopy to provide the desired level of shade and privacy.
Finally, it’s time to select and plant your favorite vines, such as clematis, to adorn your pergola. As the vines grow and climb the structure, they will create a beautiful and natural shade canopy, transforming your pergola into a delightful oasis.
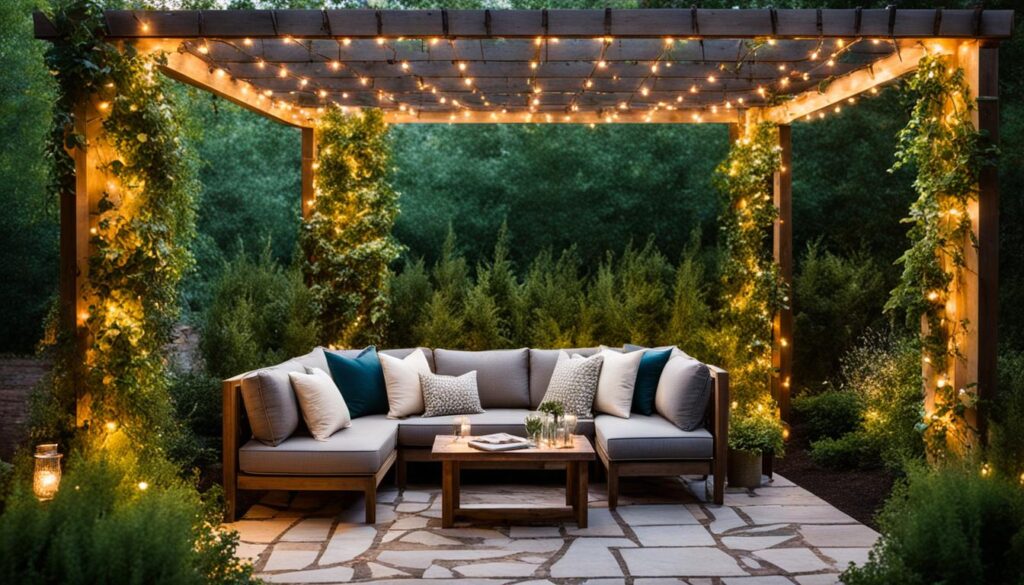
Benefits of a Pergola as a Trellis
“A pergola not only provides structural support for climbing vines but also serves as a functional and aesthetically pleasing shade element in your garden.”
A DIY pergola offers several advantages when used as a trellis for vines. Here are some key benefits:
| Benefits | Explanation |
|---|---|
| Shade | A pergola creates a comfortable shaded area in your garden, providing relief from direct sunlight. |
| Vertical Growing Space | The structure of a pergola allows plants to grow vertically, maximizing your garden space. |
| Enhanced Aesthetics | Vines climbing on a pergola add visual appeal and create a charming atmosphere in your outdoor space. |
| Privacy | The dense foliage of climbing vines offers privacy, creating a secluded and intimate environment. |
| Natural Cooling | The shade created by the pergola and the evaporation of moisture from the leaves of the vines can help lower the surrounding temperature. |
By combining the practicality of shade with the beauty of climbing vines, a DIY pergola serves as an excellent trellis solution for your garden.
T-Post Trellis
Create a sweet and rustic trellis using posts, poplar twigs, and twine. Alternatively, you can use zip ties. Arrange bigger branches at the bottom and smaller ones on top, alternating the thick ends on each row. This trellis is ideal for supporting climbing plants.
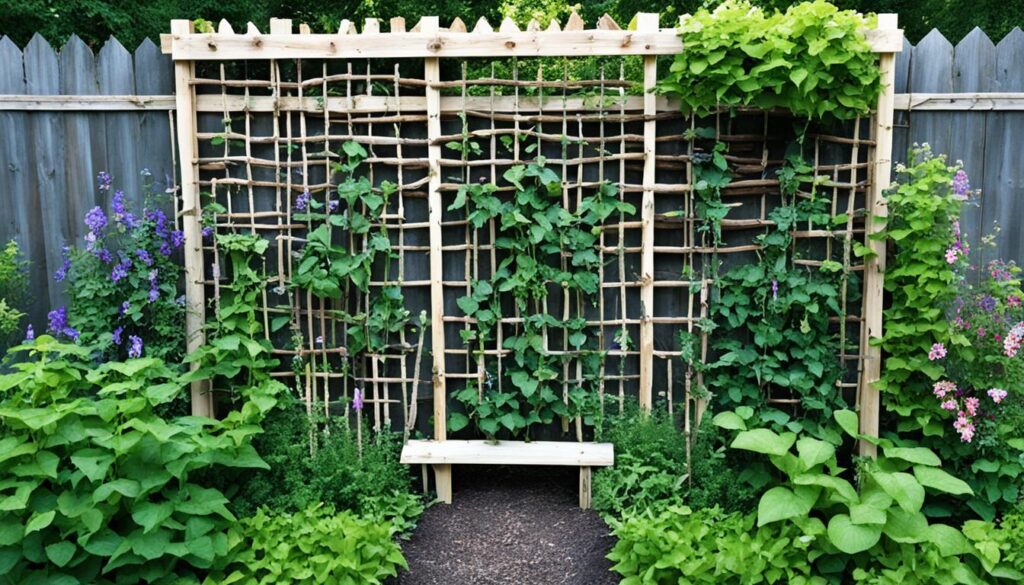
| Materials | Tools |
|---|---|
|
|
Instructions
- Choose a suitable location for your trellis.
- Drive the posts into the ground at equal distances apart.
- Collect and trim poplar twigs or branches to desired lengths.
- Arrange the bigger branches at the bottom, positioning them between the posts.
- Secure the branches to the posts using twine or zip ties.
- Add the smaller branches on top, alternating the thick ends between each row.
- Continue securing the branches with twine or zip ties as you build up the structure.
- Trim any excess branches or twine.
- Train your climbing plants onto the trellis, gently attaching them if needed.
Honeycomb Trellis
Add a unique touch to your garden with a hexagon-shaped honeycomb trellis. Use a miter saw to make the hexagonal cuts and mount the trellis onto a fence, ensuring it screws into all the horizontal supports. This trellis will make a statement in your garden.
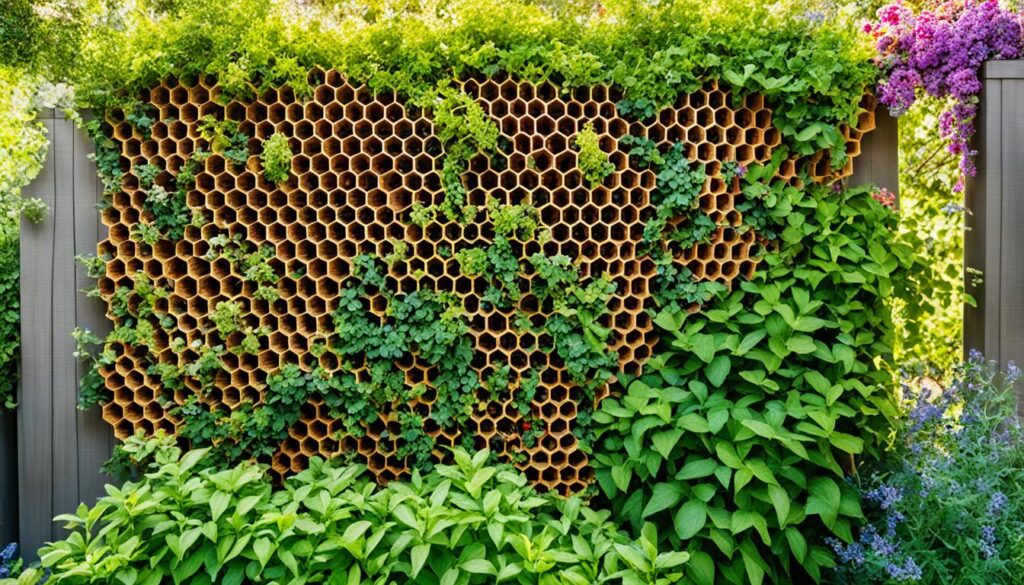
Materials and Tools Needed:
- Miter saw
- Fence
- Horizontal supports
- Screws
Step-by-Step Instructions:
- Measure and mark the desired size of your hexagon on the fence.
- Use a miter saw to make precise hexagonal cuts on the marked lines.
- Position the hexagonal pieces on the fence, ensuring they align with the horizontal supports.
- Secure the hexagonal pieces to the fence by screwing them into the horizontal supports.
This honeycomb trellis design will not only provide support for your climbing plants but also add an interesting visual element to your garden. The hexagon shape creates a modern and unique look, making it a focal point in your outdoor space.
Plastic Netting Trellis
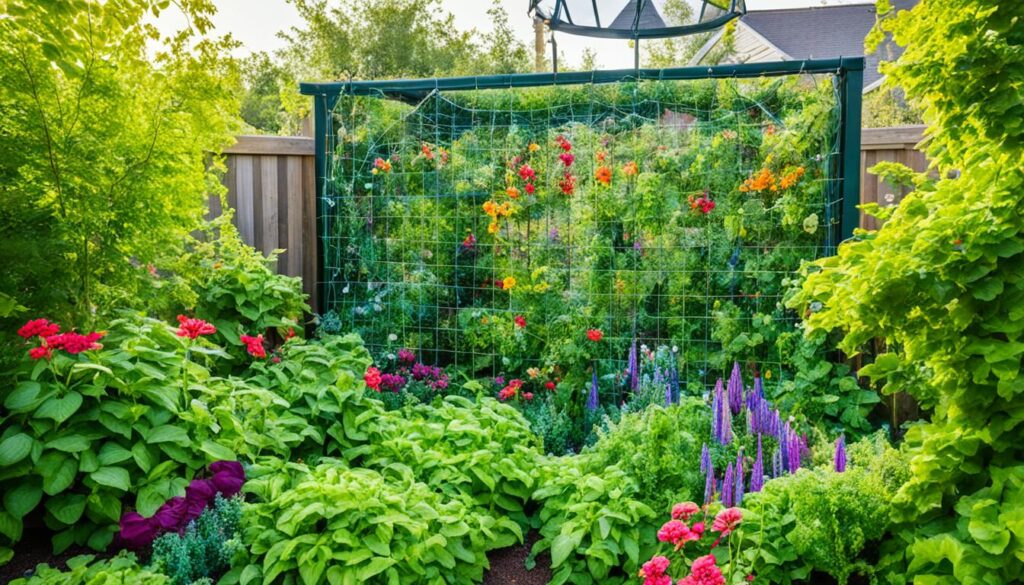
Looking for a simple and durable solution for your vegetable garden? Create a sturdy vegetable trellis by attaching plastic netting or poultry netting to two pound-in metal garden stakes. This easy-to-set-up trellis will provide support for your climbing plants and ensure a productive garden for multiple seasons.
Why choose plastic netting?
Plastic netting offers several advantages for your vegetable trellis:
- Versatility: Plastic netting is flexible and can easily be stretched and shaped according to your garden’s needs.
- Durability: Made from high-quality materials, plastic netting is designed to withstand outdoor conditions, ensuring long-lasting support for your plants.
- Visibility: The open mesh design of plastic netting allows sunlight and air to reach your plants, promoting healthy growth.
Here’s a step-by-step guide to creating your plastic netting trellis:
- Start by choosing two sturdy metal garden stakes. Pound them into the ground, positioning them where you want to place your trellis.
- Unroll the plastic netting or poultry netting and cut it to the desired length. Make sure it is long enough to reach between the two garden stakes.
- Attach the netting to the garden stakes using zip ties or sturdy twine. Secure the netting at regular intervals to ensure it stays in place.
- Once the netting is securely attached, use your hands to gently spread it out and tighten any slack.
- Plant your vegetable seedlings or seeds at the base of the trellis, ensuring they have room to climb and intertwine with the netting.
- As your vegetables grow, guide their tendrils through the netting to encourage upward growth and prevent them from sprawling on the ground.
- Regularly check the trellis and adjust the netting as needed to provide continuous support.
With your plastic netting trellis in place, you’ll not only maximize your garden space but also improve air circulation around your plants, reducing the risk of disease. So, get ready to enjoy a bountiful harvest of delicious homegrown vegetables!
Stay tuned for the next section, where we’ll explore another creative idea for your garden trellis.
Fancy Trellis
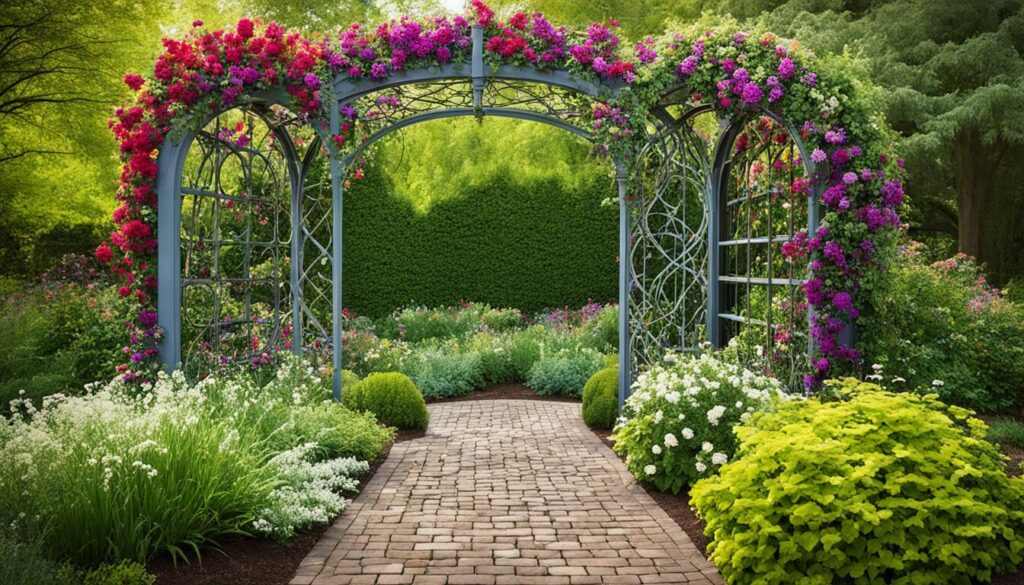
Create a beautiful trellis to showcase at the entrance of your home by using pressure-treated lumber and a stain/sealer. A fancy trellis not only adds a charming touch to your entrance but also provides support for a variety of climbing plants. A flowering vine like clematis, with its vibrant blooms, can gracefully drape over this trellis and enhance your curb appeal.
Pressure-treated lumber is an excellent choice for building a durable and long-lasting trellis. It is resistant to rot, decay, and insect damage, ensuring that your fancy trellis remains sturdy and attractive for years to come. Additionally, applying a stain/sealer will protect the wood from moisture and enhance its visual appeal.
To construct your fancy trellis, follow these steps:
- Measure the desired height and width for your trellis, keeping in mind the dimensions of your entrance.
- Obtain pressure-treated lumber in the appropriate size and cut it according to your measurements using a saw.
- Arrange the lumber pieces in a lattice or grid pattern, ensuring there is enough space for climbing plants to weave through.
- Secure the lumber pieces together using screws or nails, reinforcing the corners for added stability.
- Apply a quality stain/sealer to protect the wood and give your trellis a polished look.
- Once your trellis is complete, place it in the entrance area and prepare the soil for planting.
Your fancy trellis is now ready to be adorned with a beautiful flowering vine like clematis. This climbing plant will add elegance and color to your entrance, creating a welcoming and visually stunning focal point for your home.
Conclusion
Garden trellises are a fantastic addition to any outdoor space. With a wide range of design options, there is a trellis to suit every garden style. Whether you’re aiming to create a tranquil sanctuary or showcase vibrant climbing plants, these garden trellis ideas can inspire you to transform your outdoor decor.
From repurposing salvaged windows to utilizing rustic branches and twine, the possibilities are endless. You can add a touch of vintage charm with a flea market find or construct a DIY pergola for both shade and support for climbing vines. The use of plastic netting or poultry netting provides a quick and durable trellis solution for your vegetable garden.
For a statement piece, consider a unique honeycomb trellis or a fancy entrance trellis made from pressure-treated lumber. These trellis options not only serve a practical purpose but also enhance the visual appeal of your garden. Whether you have a small patio or a spacious backyard, a well-designed trellis can significantly elevate your outdoor space.
So, go ahead and explore these garden trellis ideas to create a stunning outdoor oasis. Whether you’re a seasoned gardener or a beginner, these trellis designs offer a perfect balance of function and aesthetics. With the right trellis, you can enjoy the beauty of climbing plants while showcasing your own personal style.
FAQ
How can I repurpose a salvaged window as a trellis?
Remove the glass panes and hang the window on a wall or rest it on a potting shed worktable. This trellis is perfect for supporting climbing vines like star jasmine.
What materials do I need to create a rustic trellis using branches and twine?
Forage large sticks from your garden and lash them together with twine at the top. This trellis is suitable for annuals such as sweet peas or morning glories.
How can I use a vintage fence piece as a trellis?
Lean a vintage fence piece against your house for a quick and easy trellis solution. Look for unique finds at flea markets to add character to your garden. This type of trellis works well for a variety of climbing plants.
What precautions should I take before building a DIY pergola as a trellis?
Before building, make sure to call your local utilities to mark the location of underground lines. Sink the posts at least one-quarter their heights for stability. This trellis can support vines like clematis and also provide shade in your garden.
How can I create a rustic trellis using posts, poplar twigs, and twine?
Arrange bigger branches at the bottom and smaller ones on top, alternating the thick ends on each row. This trellis is ideal for supporting climbing plants. Alternatively, you can use zip ties.
What is a honeycomb trellis and how can I make it?
Use a miter saw to make hexagonal cuts and mount the trellis onto a fence, ensuring it screws into all the horizontal supports. This trellis will make a statement in your garden.
How can I create a simple and durable vegetable trellis?
Attach plastic netting or poultry netting to two pound-in metal garden stakes. This trellis can be quickly set up and will last for multiple seasons.
How can I create a fancy trellis for the entrance of my home?
Use pressure-treated lumber to build the trellis and apply a stain/sealer. A flowering vine like clematis draped over this trellis will enhance your curb appeal.
What are some creative ideas for using garden trellises?
From repurposing salvaged windows to using rustic branches and twine, there are endless possibilities for enhancing your outdoor space. Whether you want to create a private sanctuary or showcase climbing plants, these ideas can inspire you to transform your garden today.
